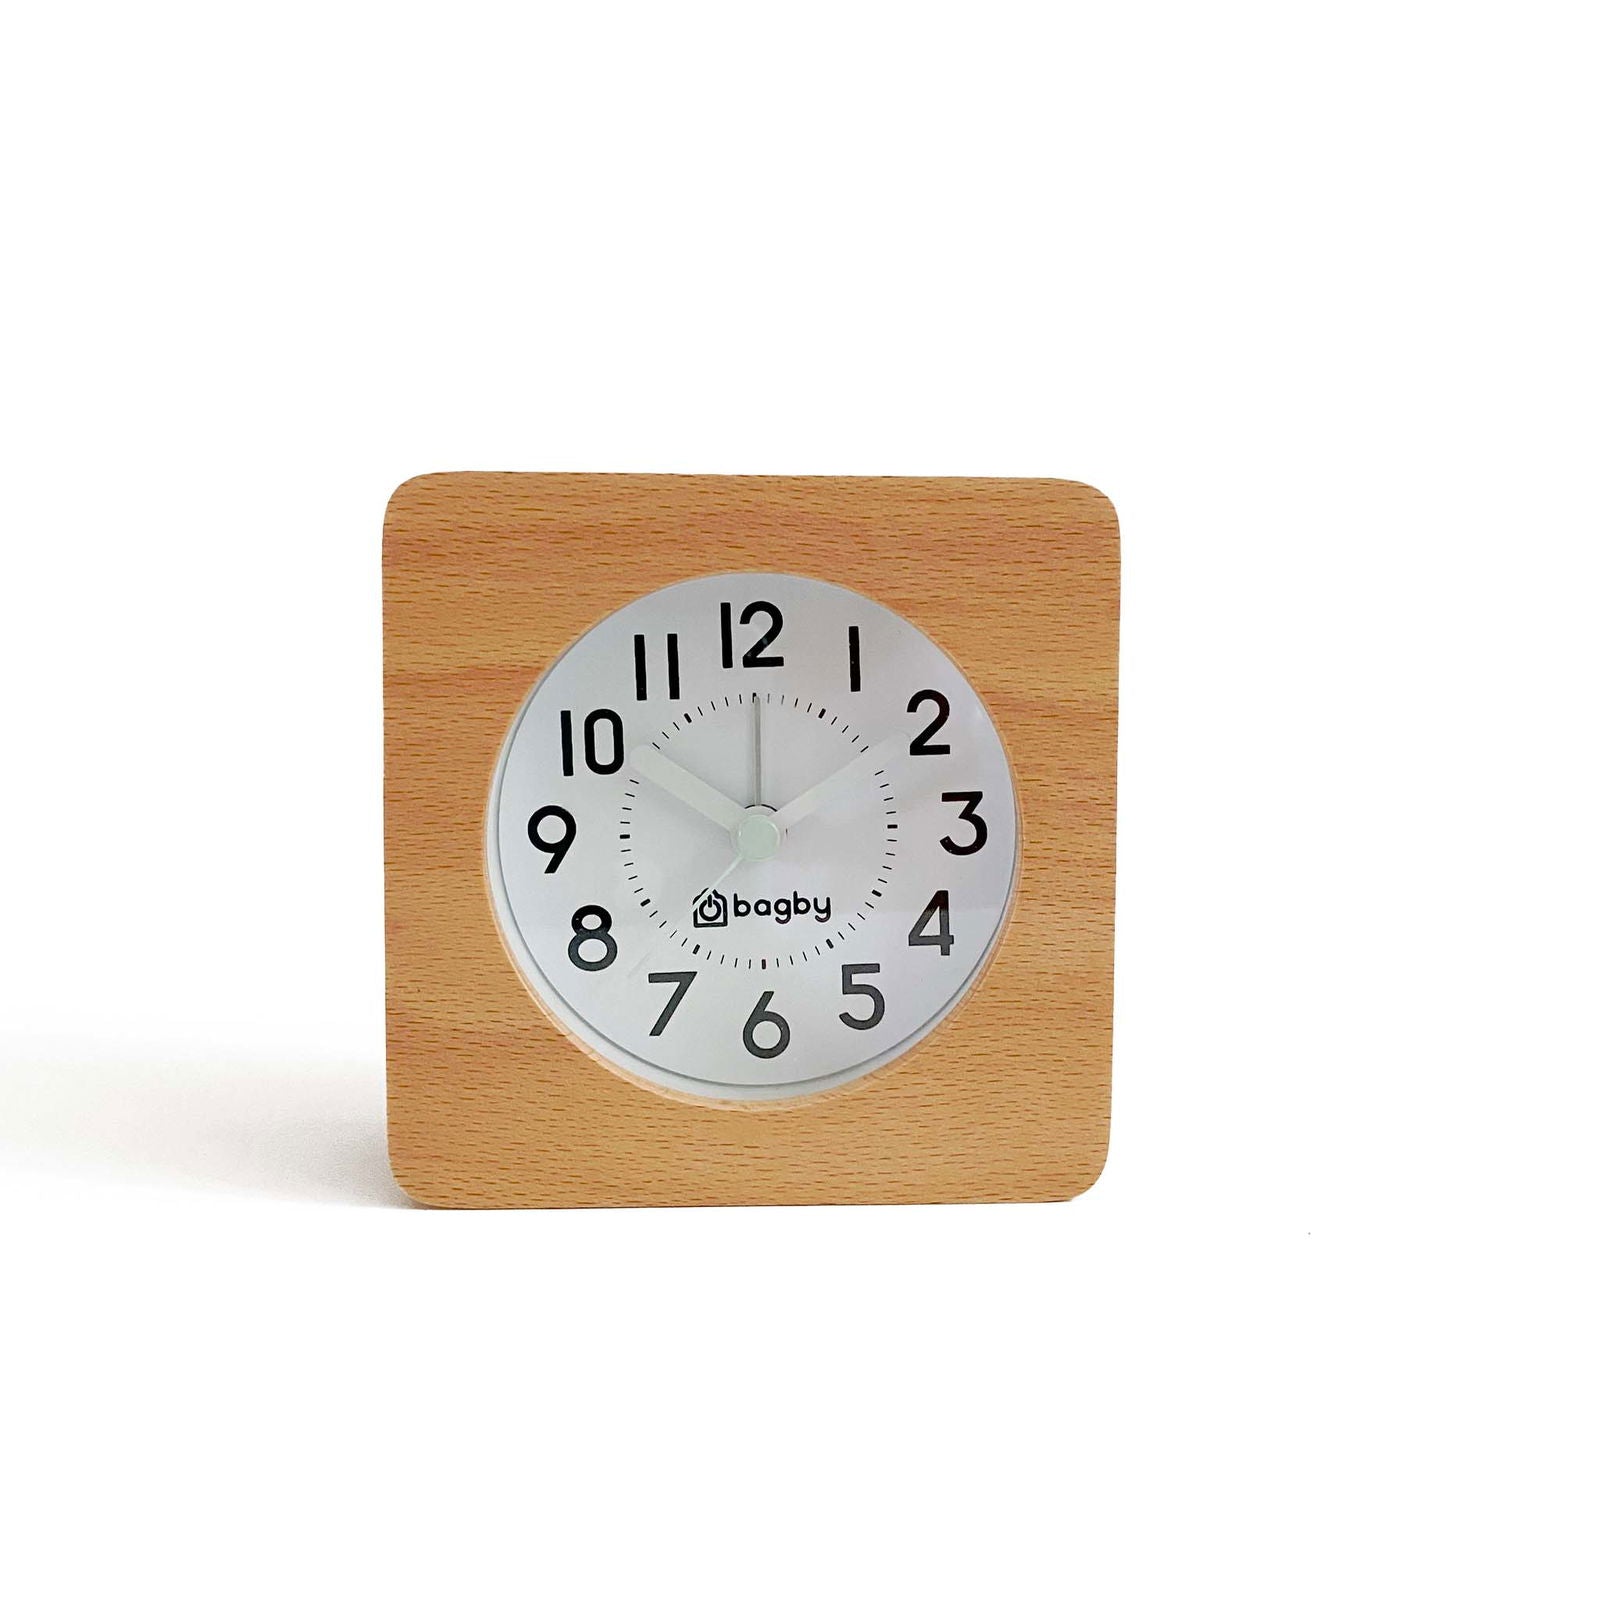
How To Use Bagby Alarm Clock - Instructions
First of all, kudos to you for replacing your phone alarm to an alarm clock. It's a game changer!
We've prepared a simple guide and instructions to use Bagby Alarm Clock in an effective way. Analog might feel hard at the beginning but not using your phone in the bedroom will pay off in the long term.
How to Set Time and Alarm
There are 4 Hands in the face of the clock and 5 functions in the back.
Snooze Time = 5 minutes
.
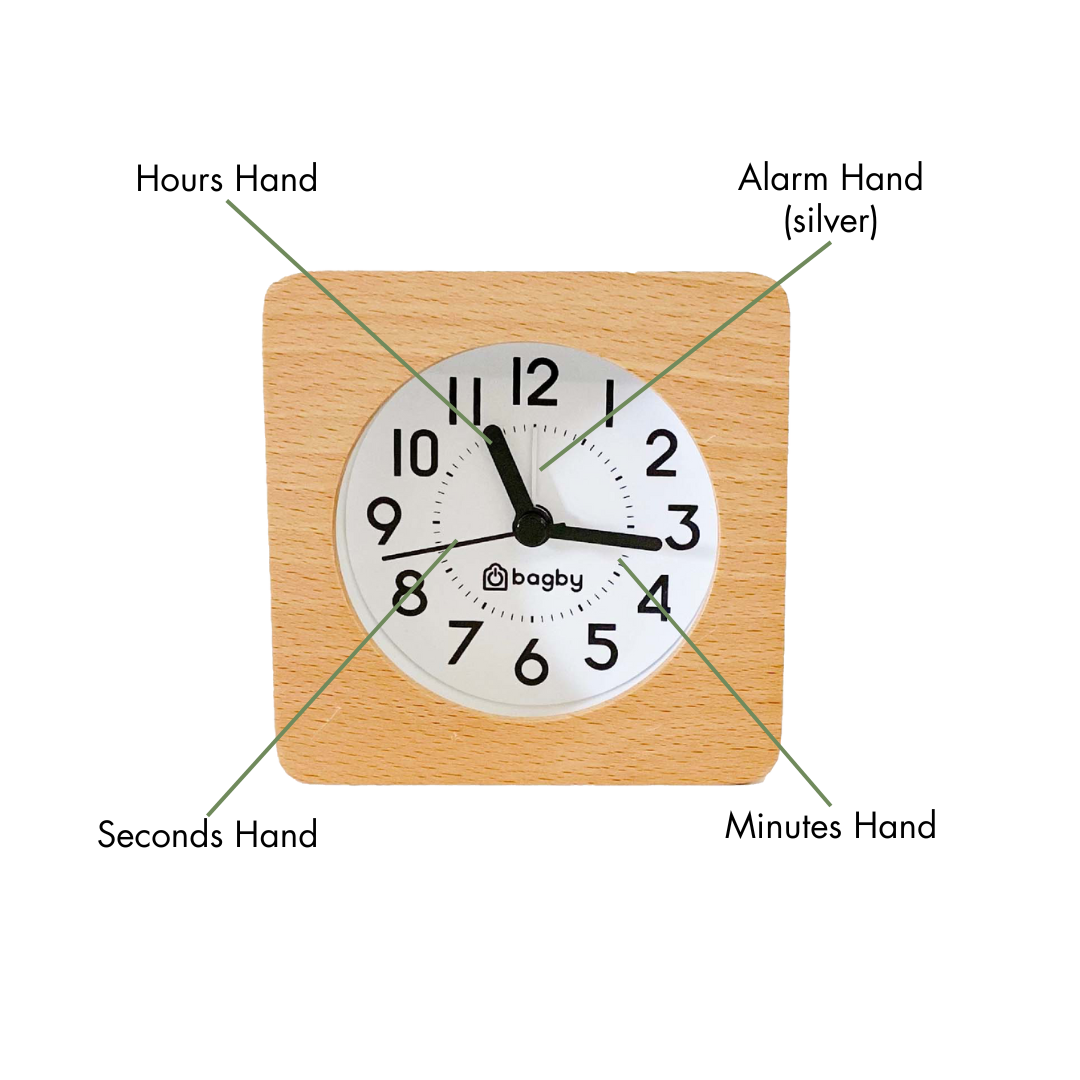
Front
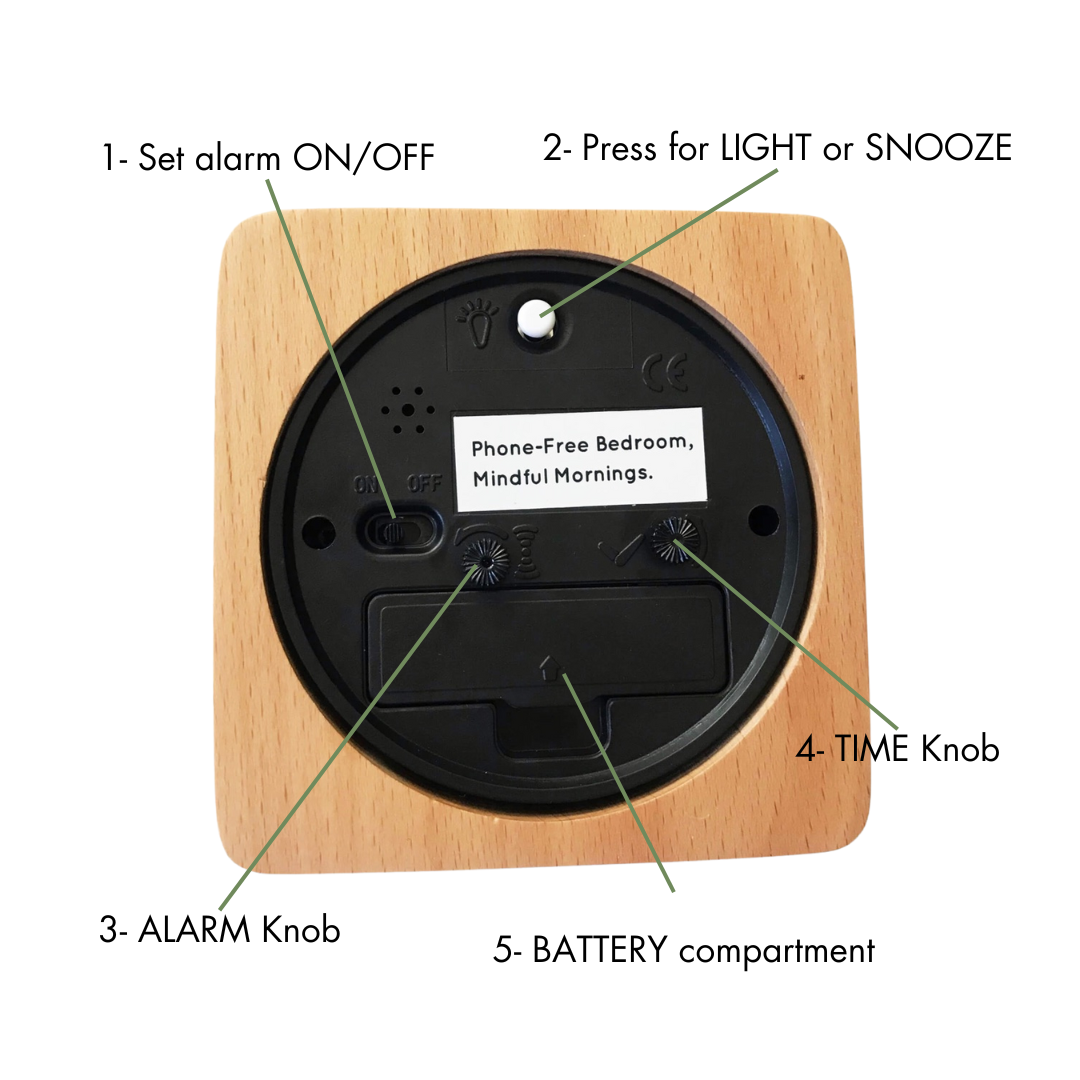
Back
To set the alarm turn the clock around
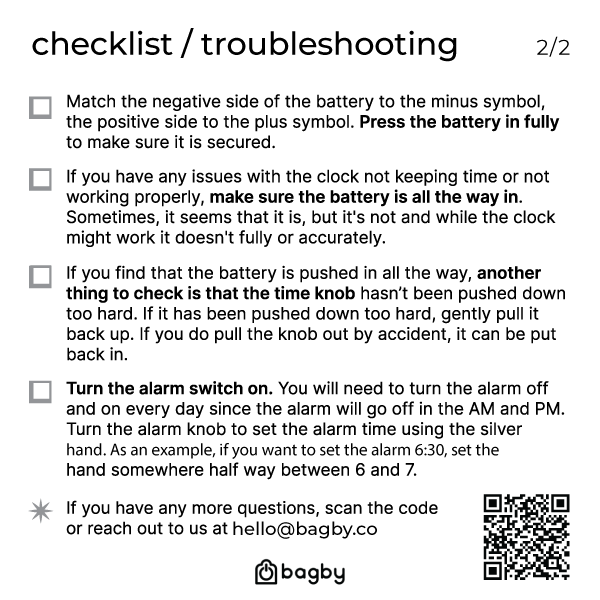
1 - ON/OFF Switch- It needs to be turn on to ON position in order for the alarm sound. This is like the ld school alarms. If you set the alarm at 8:00 and leave the clock at ON the alarm will sound at 8:00 AM and at 8:00 PM. If you wan the alarm to go on only at 8:00 AM you turn the alarm to ON every night when you for or sleep and set to OFF every morning when you wake up.
2- Light- Press button to turn the light on. This button also activates the snooze (about 5 min) if the alarm is ringing. It will continue to go off every five minutes until you switch the alarm button to “OFF”. Don't be late!
3 - Snooze- The light button is also the snooze button.
4 - Alarm Knob- This knob moves the silver hand (alarm hand) on the face of the clock to the correct time. If you want to set it for 7:30, just point the alarm hand in between 7:00 and 8:00.
5 - Time Knob- Use this knob to set the clock at the correct time. It controls the minute and the hour hand. The second hand is simply controlled by inserting the battery.
6 - Battery Compartment- Insert the battery 1AA (1.5V) by removing the improved battery cover on the back. Make sure the polarity (+ / -) is correct, the polarity directions are displayed within the compartment.
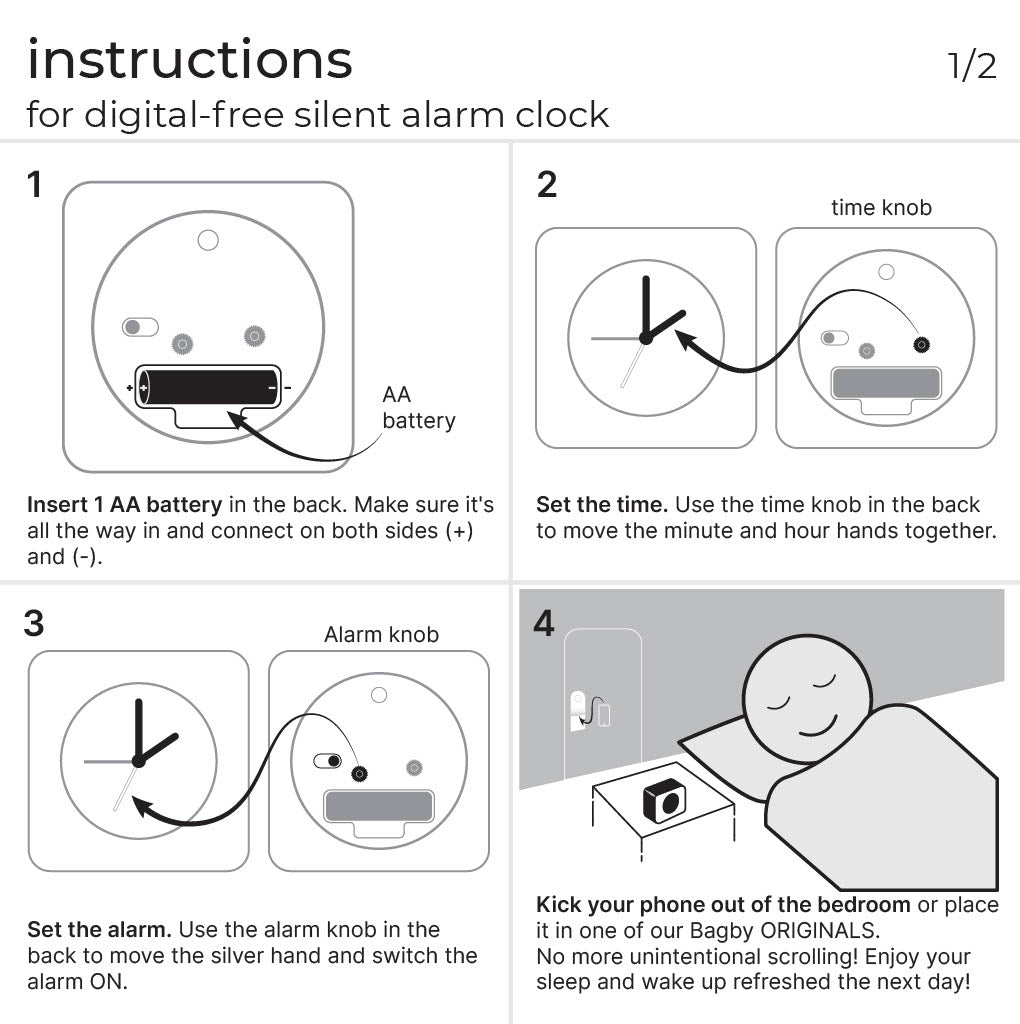

Key Tip
Make sure the battery is all the way in and correctly connect on both sides. Sometimes, it seems that it is, but it's not and while the clock might work it doesn't fully or accurately. Also, make sure the battery is new.
95% of issues with the clock are solved with these two simple suggestions.
PRACTICE TELLING TIME IN ANALOG CLOCKS
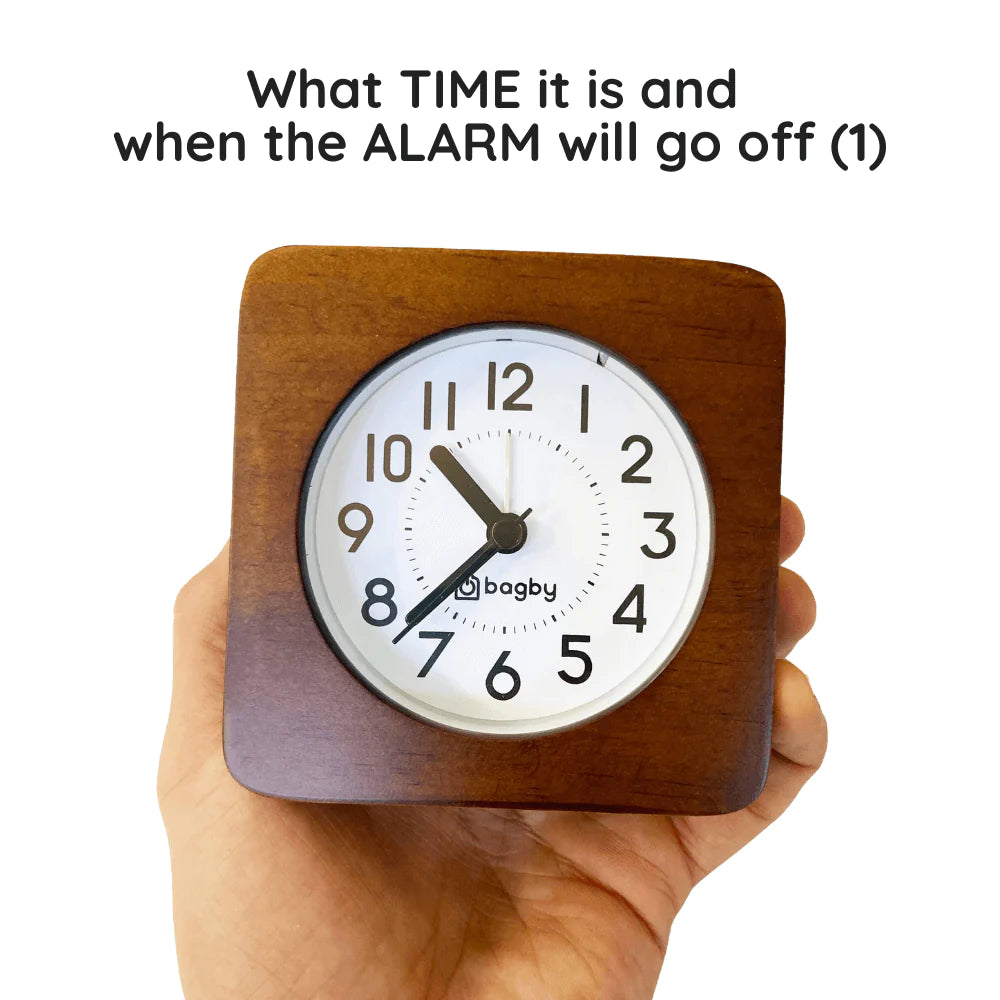
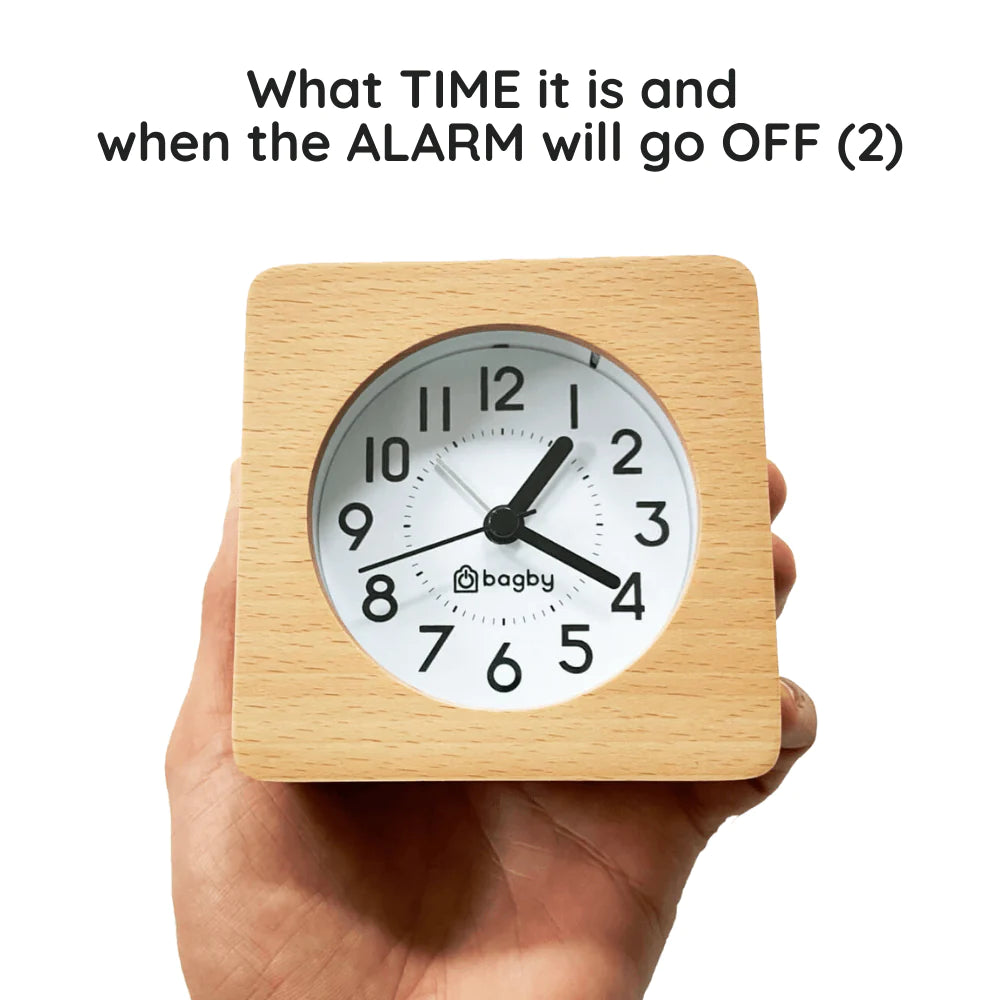
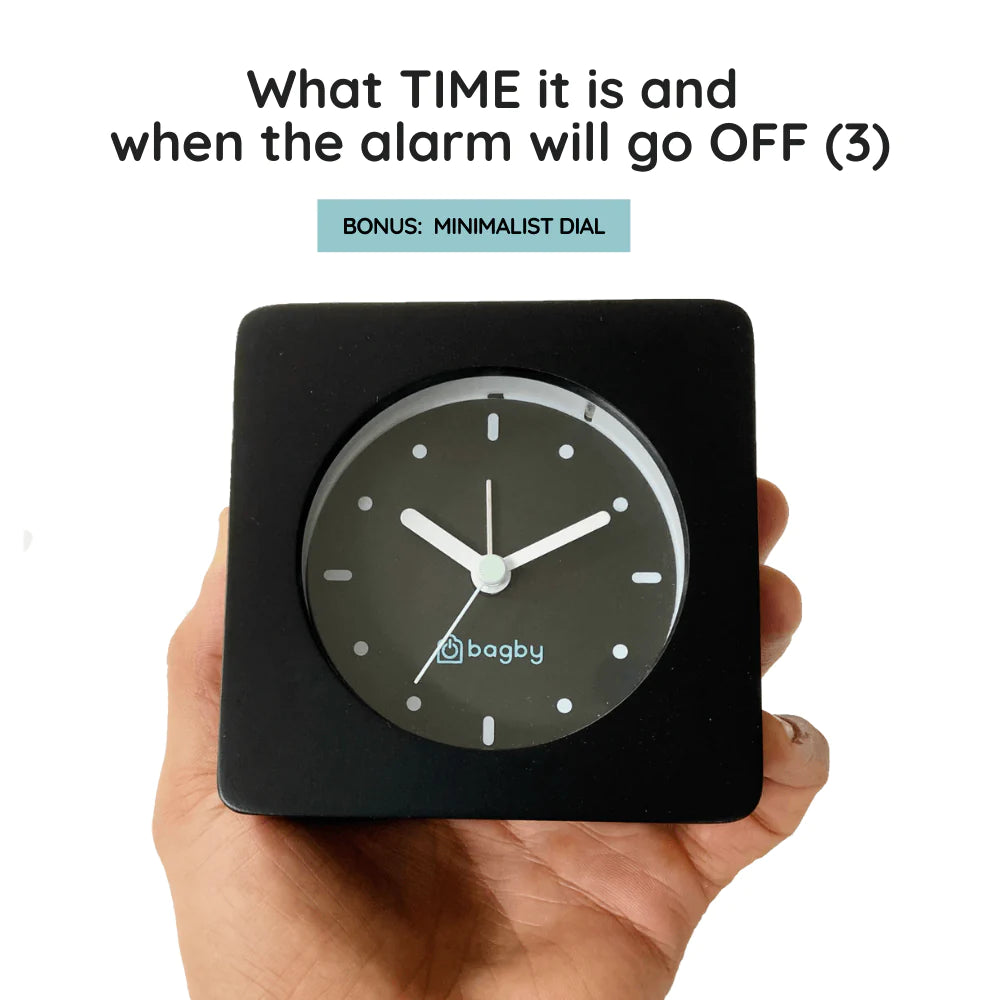
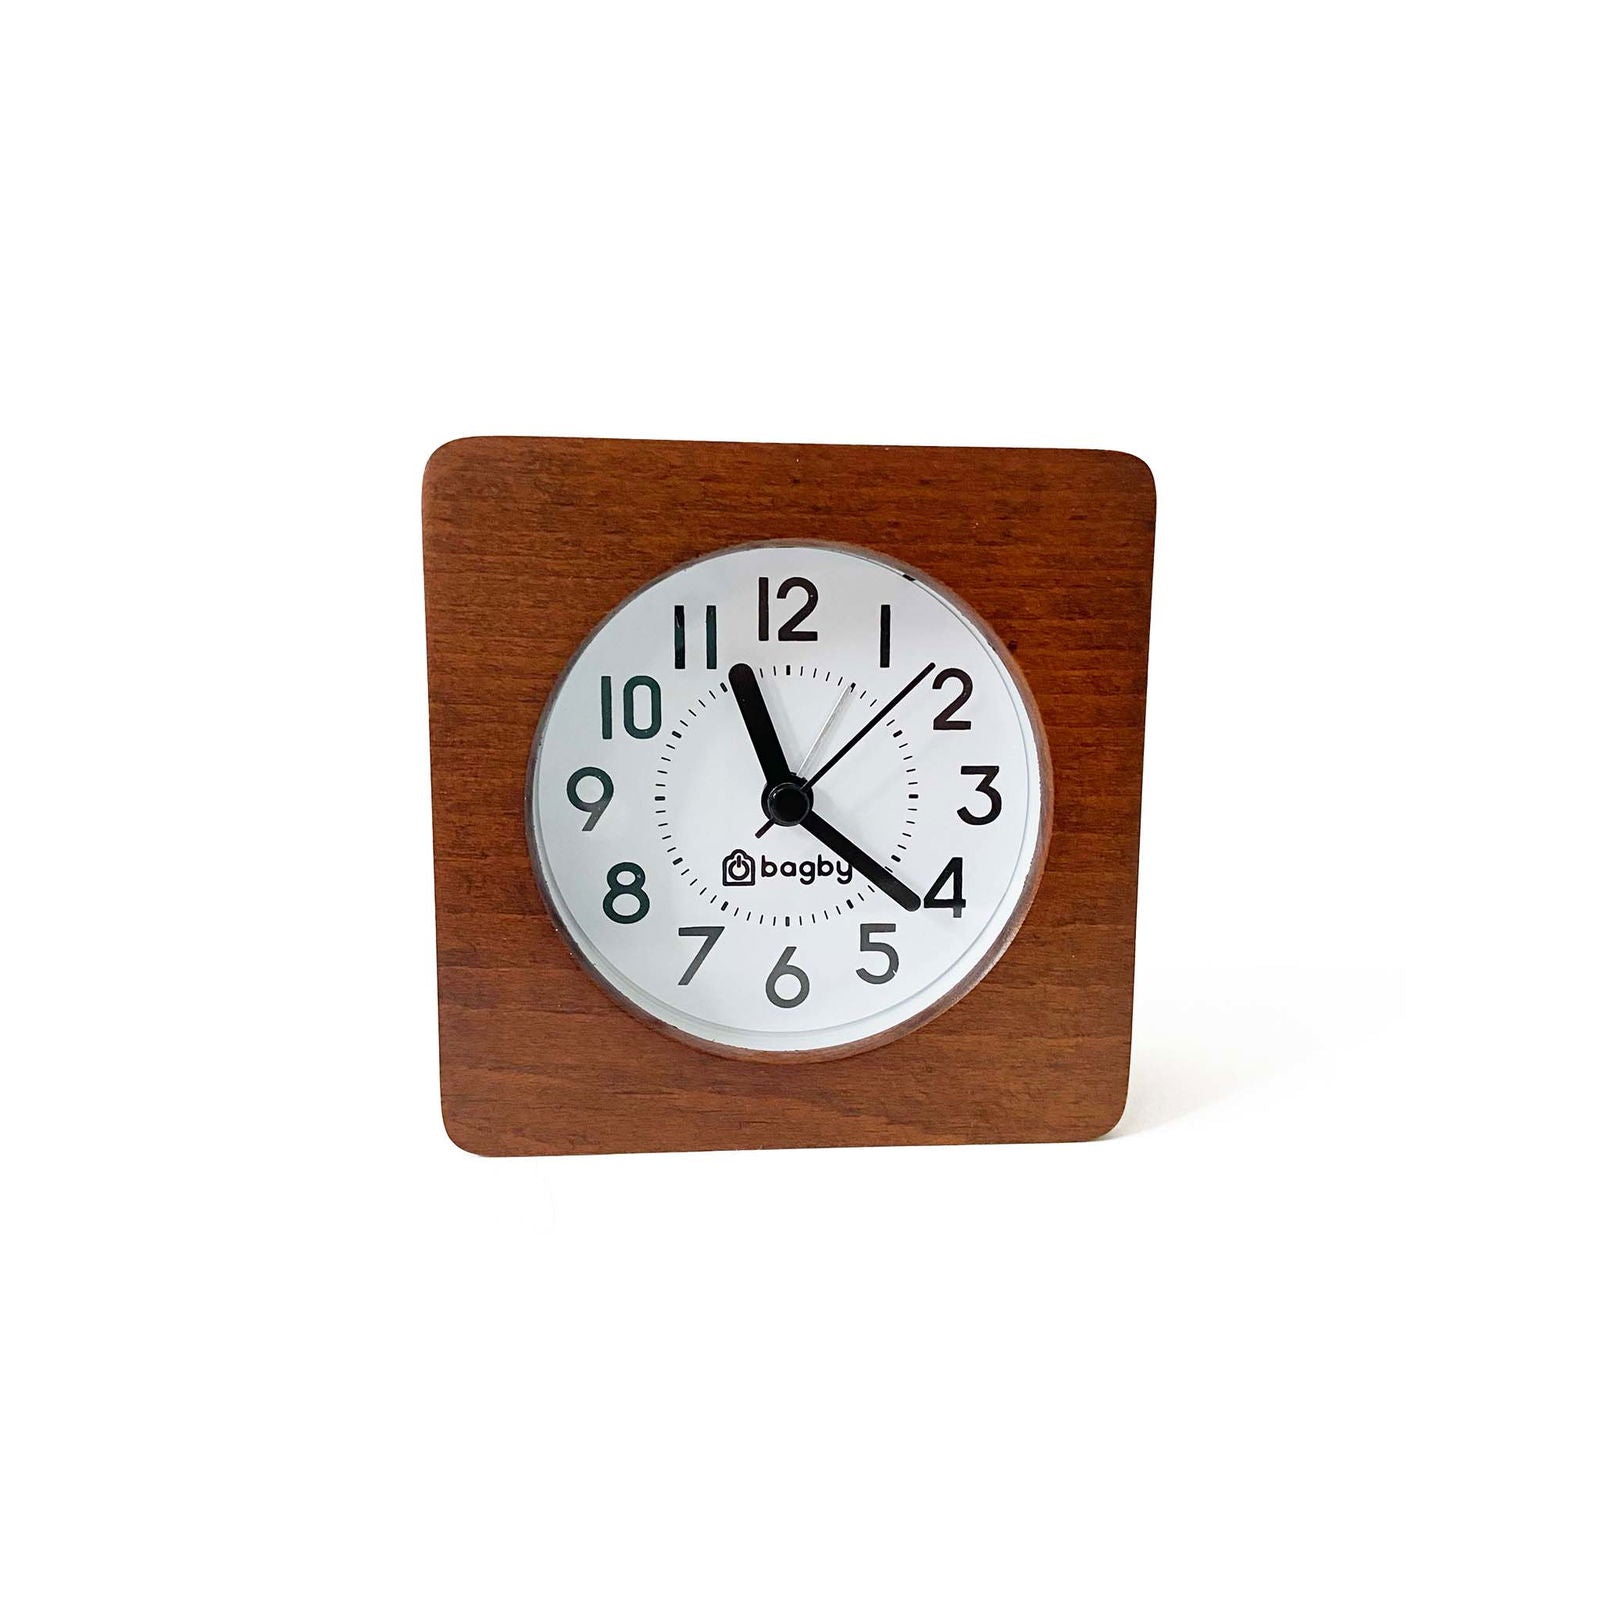
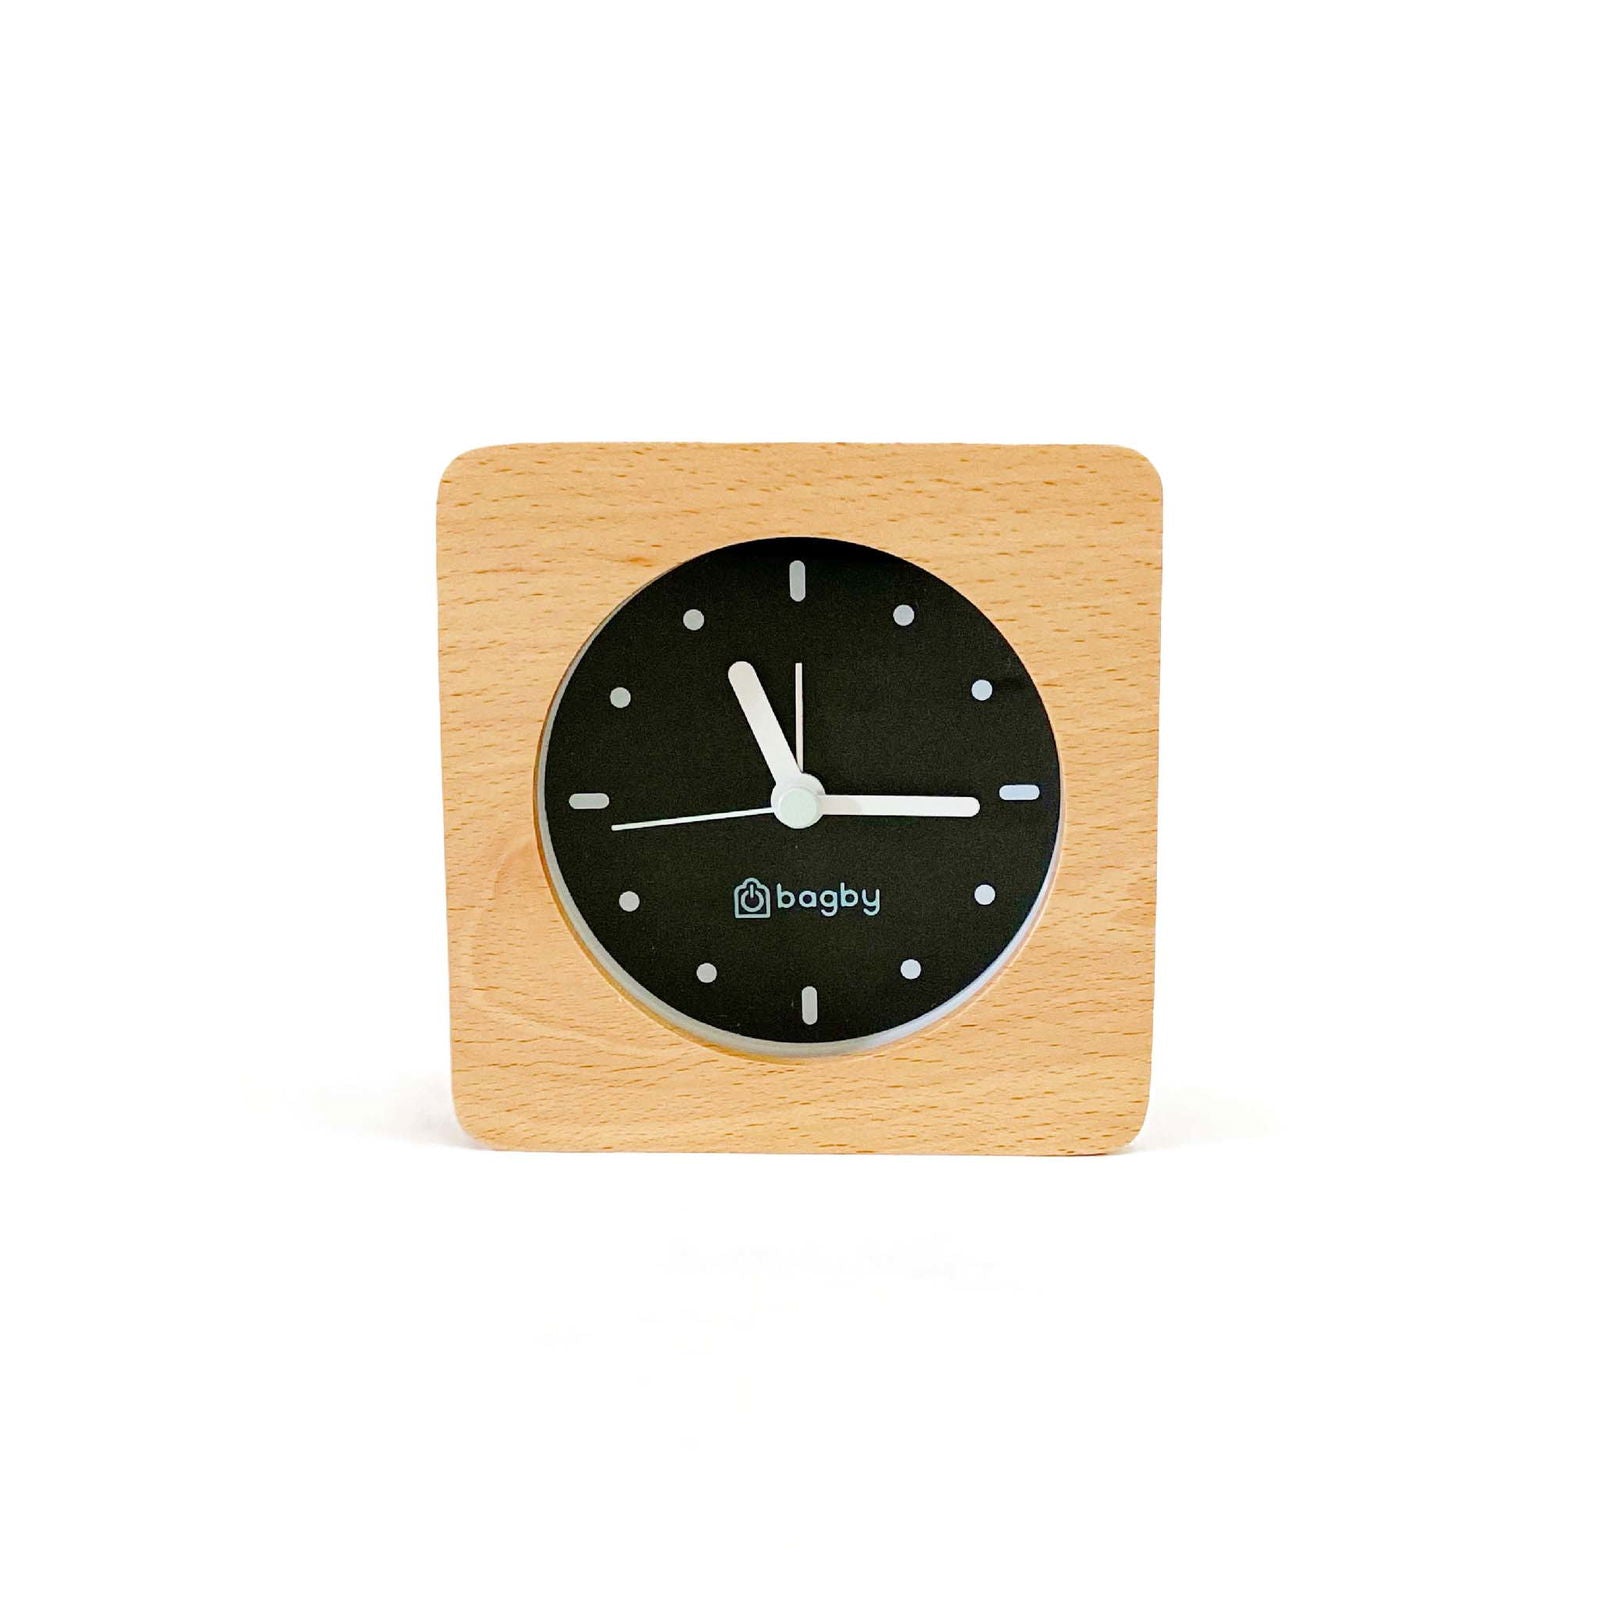
Let's get back to work! Focus on the clock image and try to read the dial and hands before you check the solution. Use the timeline (test 1, 2, 3, etc.) to see more examples.
Trust us, it's not that hard!
Are you ready? Let's Sleep Better
STILL HAVING SOME QUESTIONS OR DOUBTS? - FOLLOW THE 3 KEY RULE
An analog clock is a timekeeping device with numbers around the edge with hands that rotate around to indicate the time. To tell time on an analog clock, you look at where the hands are pointing. The short hand tells you the hour, the long hand tells you the minute of the current hour. If there is a third thinnest hand, it indicates the seconds of the current minute and it's in continuous motion.
THE 3 KEY RULE TO READ ANALOG CLOCKS
1- A clock is divided into 12 sections.On top of the clock, you will see a "12." To the right of the "12," you will see a "1." If you follow the numbers, going right or "clockwise," they will move from "1" to "12."
The numbers marking each sections are the hours. The sections between numbers are divided into 5-minute segments (total of 60 minutes). Sometimes, there are tiny lines running along the clock dividing these segments. There is no AM / PM differentiation.
2- Short hand for hours, Long hand for minutes.
3- If the short (hour) hand is between two numbers (eg 3 and 4),you always take the first number (3).
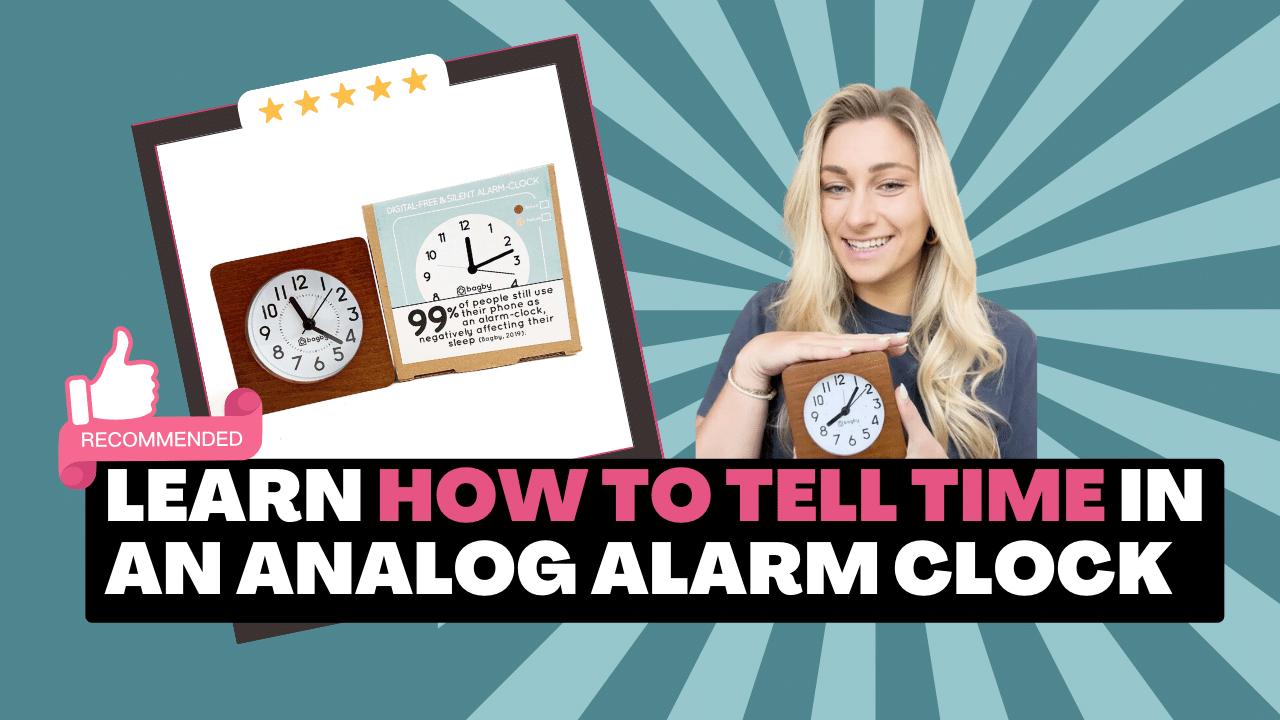
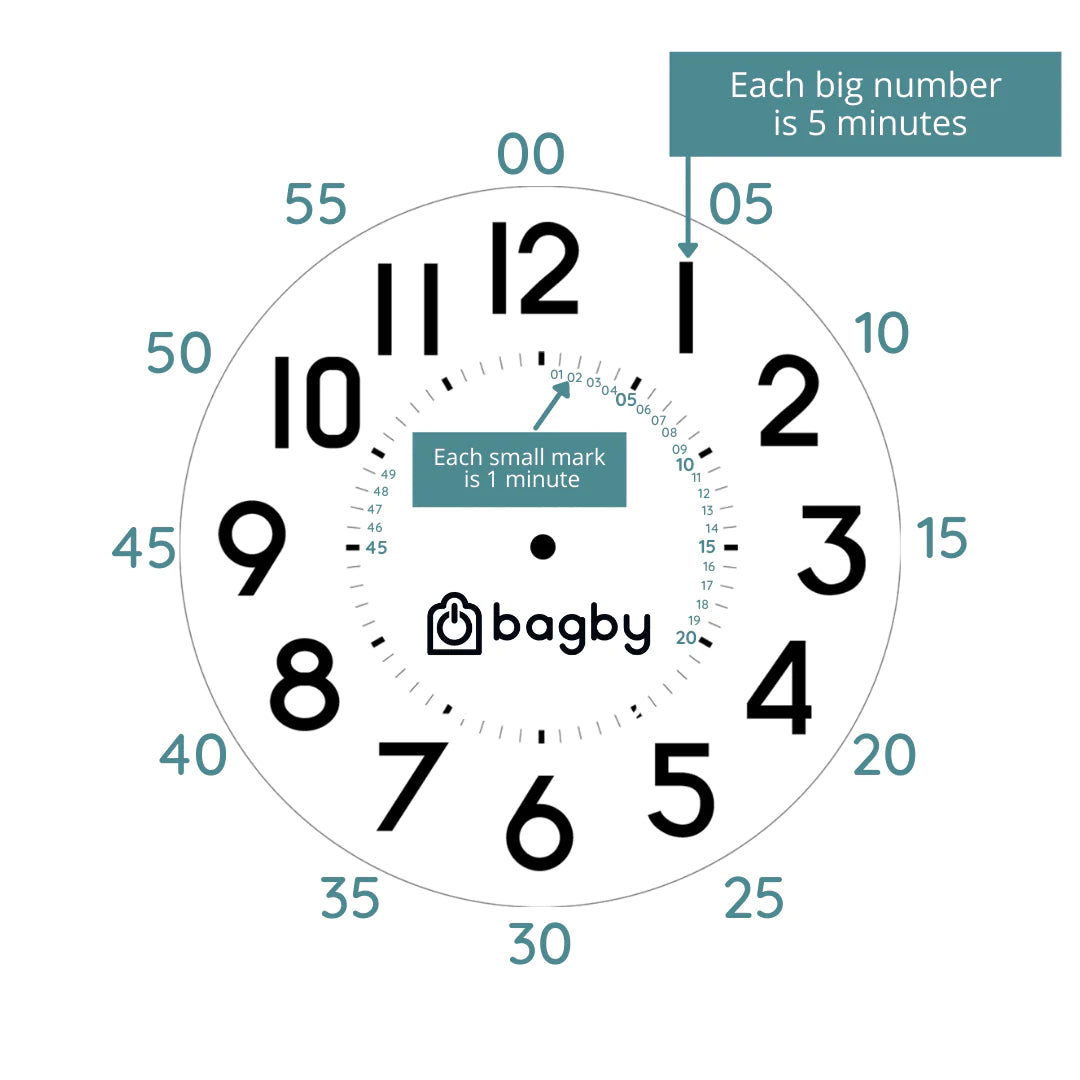
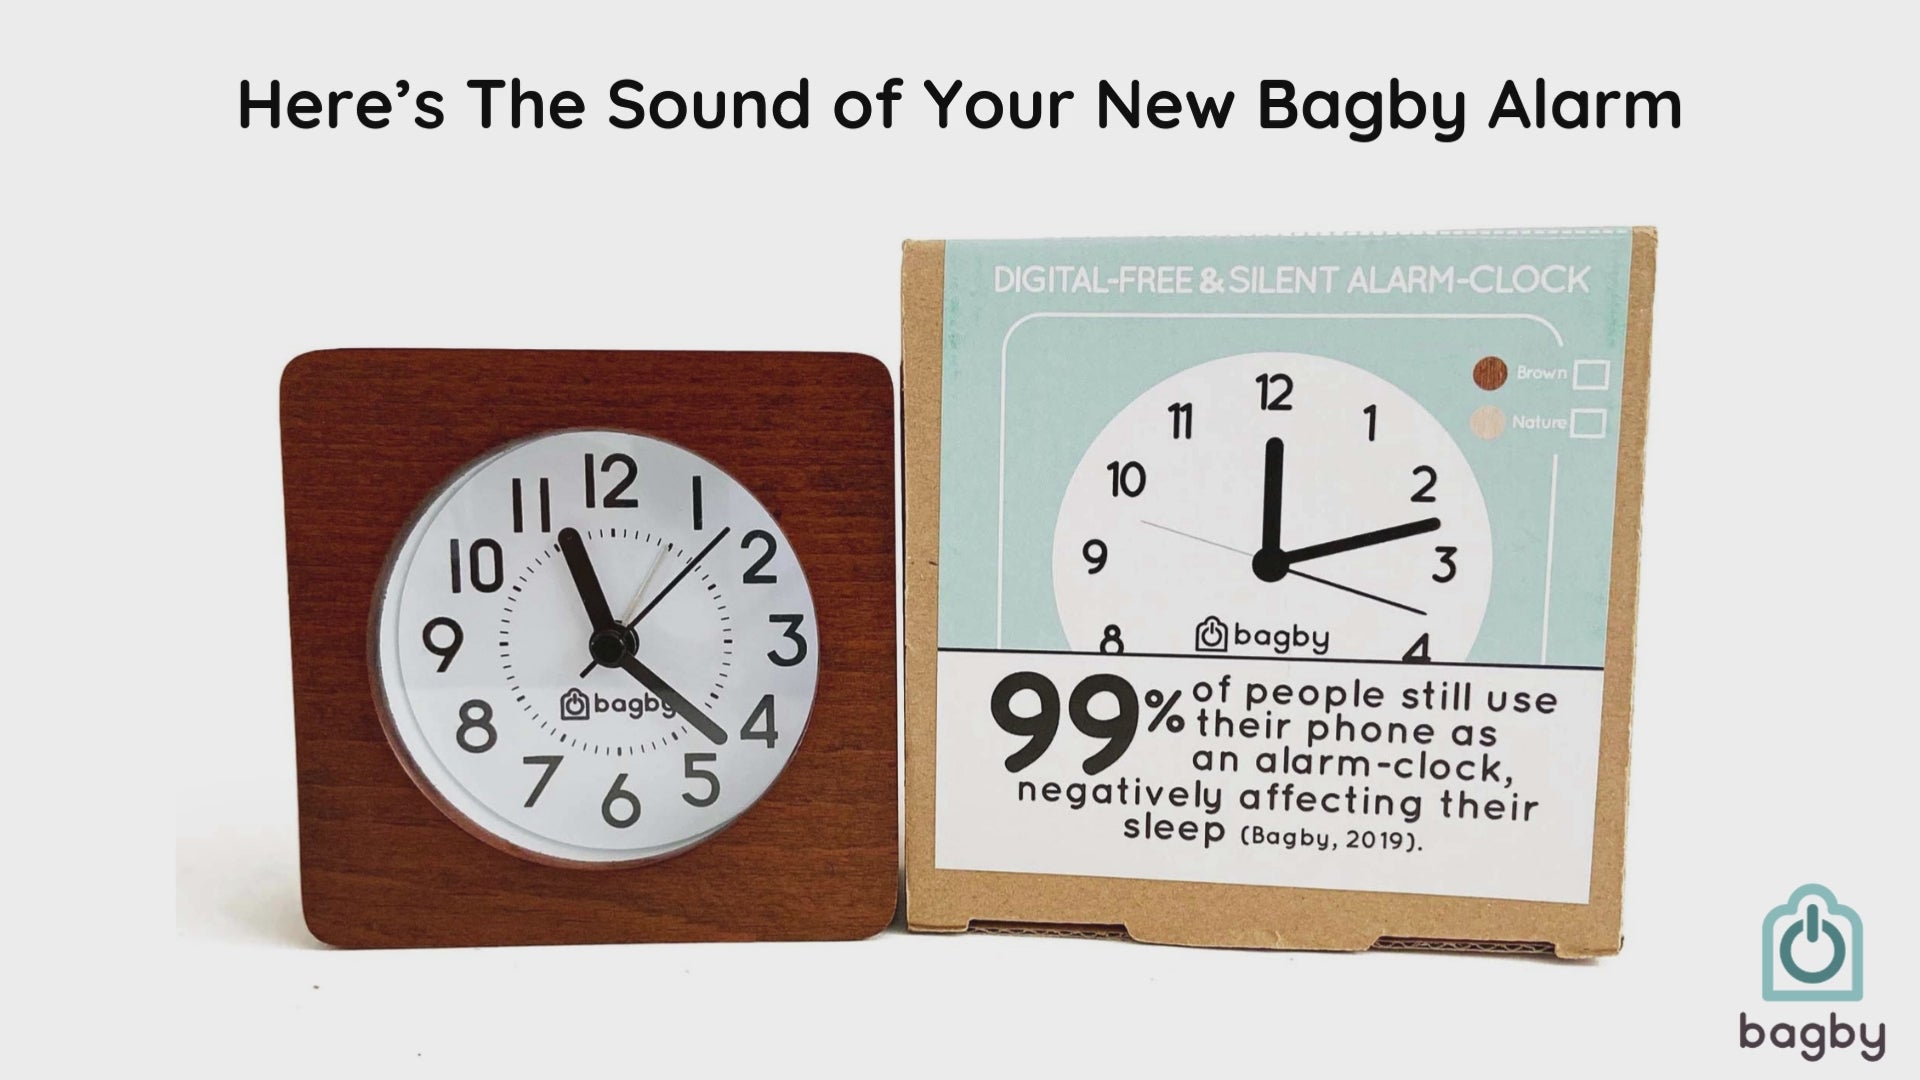
Below there is an exact replica of the dial of our analog clocks. The first thing you have to understand is that you have 12 big numbers = 12 hours and 5 minutes each (60minutes in total).
The smaller marks in the dial will help you tell minutes when the minute hand is between numbers or larger marks.
